Nutrition
Ingredients
Cheesecake Filling
- 22 oz Extra Firm Silken Tofu I used Mori Nu
- 1 cup Powdered Sugar
- 1/2 cup Strawberries thinly sliced
- 1 tbsp Vanilla Extract
- 1/4 cup Flour
- 1/2 tsp Baking Powder
- 1 tbsp Freeze-dried Strawberry Powder
- 1/2 tsp Salt
- 1 serving Strawberry Protein Powder
- 1/3 cup Vegan Chocolate Chips
Crust
- 1 1/2 cup TVP Textured Vegetable Protein. Do NOT re-hydrate TVP.
- 3 tbsp Ground Flax Seed
- 9 tbsp Water
- 4 tbsp Brown Sugar
- 3 tbsp Cocoa Powder
- 1/4 tsp Salt
- 1 tbsp Flour
Instructions
- Pre-heat oven to 350 F (177 C).
- In a small bowl, whisk together 3 tablespoons of ground flax seed with 9 tablespoons of water. Let sit for a minimum of 5 minutes.
Making the Filling
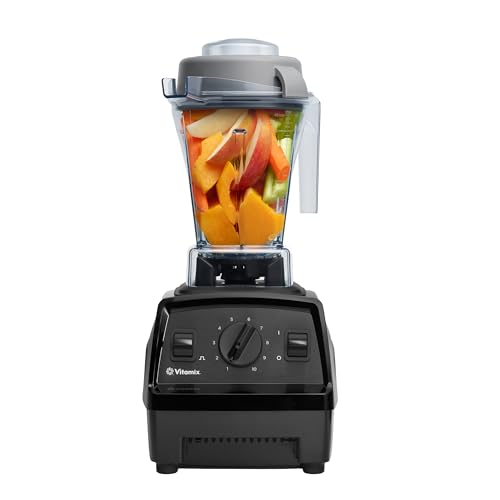
- In a high powered blender, blend the tofu until very smooth and creamy.
- In a large bowl, pour tofu out of blender. Stir in the vanilla.
- Sift the powdered sugar and the protein powder into the bowl (if you don't have a sifter, you don't necessarily need to sift these ingredients, I just think it makes the filling creamier and smoother). Whisk together well.
- Add in the flour, freeze-dried strawberry powder, baking powder and salt. Whisk together well until it is creamy and well mixed; there should be no lumps.
- Stir in the thinly sliced strawberries and chocolate chips.
Making the Crust
- In a medium size bowl, mix all of the ingredients listed in the crust section together. I literally just used a fork and make sure everything is very well mixed.
Assembly
- In your pie pan, dump your crust "dough" and evenly smooth it out on the bottom of the pan and up the sides.
- Pour your cheesecake filling on top of the crust and smooth out evenly.
- Bake in oven for 40 – 50 minutes. Should be pretty firm when it's done with a slight jiggle left in the middle of the cheesecake.
- Let it cool at room temperature (on the counter) for 2 hours.
- Move to fridge for another 2 hours until completely cooled down. Then serve!
Equipment
This section may contain affiliate links

Notes
Gluten-free Option
- Use a 1:1 gluten-free flour option (affiliate link) in place of the flour. I’ve had good luck with this one for baking.
Reduced Sugar Option
- Use a 1:1 powdered sugar alternative (affiliate link) in place of the powdered sugar. I like this monk fruit option.
- Use a 1:1 brown sugar alternative (affiliate link) in place of the brown sugar. I like this monk fruit option.
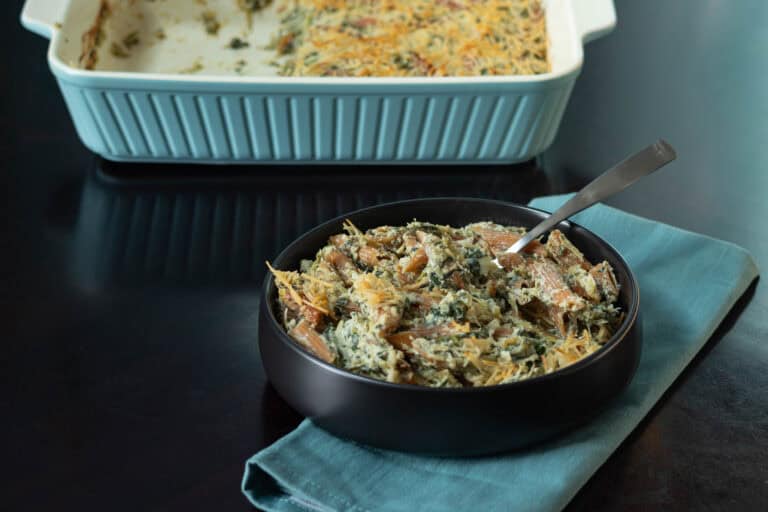
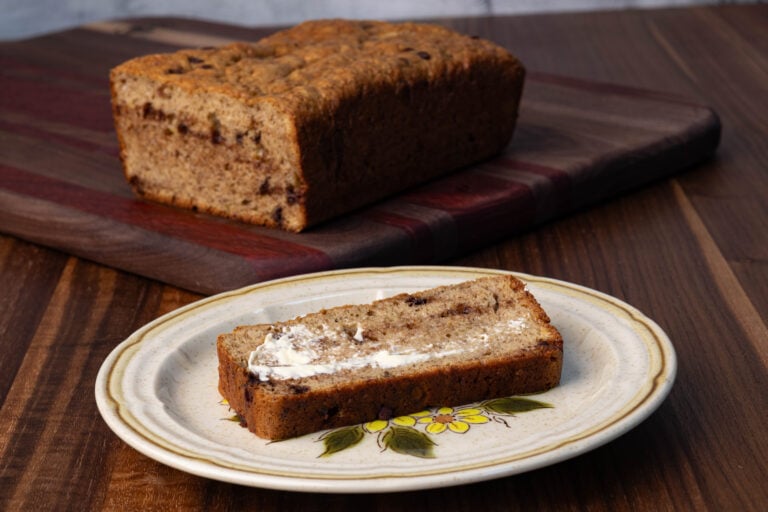
Have you tried making a high-protein cheesecake out of extra firm silken tofu yet? That’s what we’re doing with this High Protein Strawberry Chocolate Strawberry Cheesecake! We’re also using TVP for a high protein crust. I know the TVP crust sounds pretty weird, so if you’re not into that, you could always use a cookie crust instead. I’ve been told this cheesecake isn’t the exact texture of cheesecake, but I don’t know another name for it that would describe it any better than cheesecake, so if you make this and have a better name for it, let me know! I’d also like to point out that this is a high-protein cheesecake, so set your expectations fairly. This is not going to taste exactly like a full fat cheesecake that you would get it a restaurant. This is a high-protein dessert, so if you’re looking for something a little bit more indulgent and it doesn’t need to have good macros, I have other recipes that don’t have a protein focus!
But, if you are down to make a high-protein cheesecake, I think this one is a great one. It’s super easy to make, hard to mess up, and tastes great. There have actually been a couple omnivore gym bros I know that tried this and really liked it, so I’m taking that as a big win! I really like to make this during the weekend when I have time off work and then I have a high-protein snack throughout the week. If chocolate strawberry is not your thing but you want to try a high protein cheesecake, check out the other cheesecake recipes on the site!
Ingredients
Cheesecake Filling
- Extra Firm Silken Tofu – if you’re new to using tofu, there are two different types of silken tofu you can find at stores – refrigerated and shelf-stable. The refrigerated variety can be found next to the other tofus. For the shelf-stable kind, I’m usually able to find this in the International Food Aisle; I live in the United States, so this might be different for others. You can also find this at Asian Markets or online. I like to use extra firm silken tofu, because the macros are slightly better, but I do think any silken tofu would probably work fine.
- Powdered Sugar – I used powdered sugar for this recipe. I highly recommend sifting it before you add it into the cheesecake filling because it makes the texture smoother and creamier. I know a lot of people are trying to reduce their sugar intake, so I guess you could probably use a sugar alternative, but I’ve only made this with powdered sugar, so I don’t have any advice on that. I f you happen to make this as a reduced sugar recipe, please share what you did in the comments, so others can learn from your awesomeness!
- Strawberries – I used fresh strawberries and sliced them incredibly thin. I wouldn’t recommend using frozen strawberries unless you were going to let them thaw and treat them like fresh strawberries. I think it’s really important to slice these very thinly so you don’t end up with watery gooey strawberries in the middle of your cheesecake filling.
- Vanilla Extract – I always use vanilla extract in baking because I like the taste!
- Flour – I used all purpose flour in this recipe, but I’m sure you could use a gluten-free flour option, especially since we aren’t using a ton of flour in this recipe. I haven’t tried out anything other than all purpose, so if you make this recipe gluten-free, please share what you did in the comments!
- Baking powder – the baking powder in this recipe is pretty important to make sure that the cheesecake filling gets nice and fluffy.
- Salt – adjust to taste.
- Freeze Dried Strawberry Powder – I was able to find this freeze dried strawberry powder on Amazon. I haven’t seen it any stores, so you probably have to buy this online. I think it adds a nice flavor and a little bit of color to cheesecake.
- Strawberry Protein Powder – I used strawberry protein powder in this recipe, for an extra strawberry flavor, and also some sweetness. I used KOS for this recipe specifically, but I really like Earth Chimp Protein Powder as well, although I think this may be a seasonal flavor. Any strawberry protein powder should work fine though! I don’t typically bake with protein powders, but in this recipe, I didn’t notice the protein powder at all.
- Chocolate chips – I used Enjoy Life Mini Chocolate Chips. I really like using mini chocolate chips for a lot of my recipes because you can add less chocolate and still get chocolate in each bite. Feel free to use whatever your favorite chocolate chips are though!
Crust
- Textured Vegetable Protein – TVP – if you haven’t heard of this, Textured Vegetable Protein is basically de-fatted soy flour. It’s a shelf-stable protein source that is used very frequently in vegan cooking, typically in savory recipes. I really like to use it in sweet recipes as well, because since it’s soy-based, it doesn’t really have its own flavor, and we can make it taste like anything. You can find is the most grocery stores near the gluten-free flour options, but you can also purchase it online. You can even buy a 20 pound bag on Amazon! For most recipes, you would re-hydrate the TVP, but for this recipe, we will be using it dry.
- Ground Flax Seed – I use ground flax seed in this recipe as an egg replacement. I really like ground flax seed because it is a cheap and shelf stable ingredient and super easy to use. You just have to add water, let it sit for about five minutes and you end up with flax goo which you can use as an egg replacement!
- Brown Sugar – I use brown sugar in this recipe for the crust because it adds a nice sweetness. I know a lot of people are cutting back on sugar, so if you want to try sugar alternative, that could work too. I’ve only used I’ve only made this recipe with brown sugar, so I can’t offer any suggestions. But if you happen to make this as a reduced sugar recipe, please share your genius in the comments!
- Cocoa Powder – I use cocoa powder to get a nice chocolatey flavor to the crust, otherwise it doesn’t taste like much.
- Salt – adjust to taste.
- Flour – we only use 1 tablespoon for the crust. I used all purpose, flour, but you could easily substitute a gluten-free flour option here.
Instructions
- Pre-heat the oven to 350°F (177 C).
- In a small bowl, whisk together the 3 tablespoons of ground flax seed with 9 tablespoons of water. Let it sit for at least five minutes. When it’s done, it will become flax goo and we will use this in the crust.
Making the Filling
- In a high powered blender, blend the extra firm silken tofu until it is very smooth and creamy.
- Empty the blended tofu into a very large bowl. Stir in the vanilla extract.
- Next, sift the powdered sugar and the protein powder into the bowl. If you don’t have a sifter, you don’t necessarily need a sift these ingredients, but I do think it makes them the cheesecake filling come out creamier and less lumpy. Whisk these ingredients together well.
- Add in the freeze dried strawberry powder, baking powder, and salt. Whisk all of these ingredients together until it’s creamy and well mixed; there should be no lumps left.
- Thinly slice your strawberries. The thinner, the better. Add the thinly sliced strawberries to the cheesecake filling and stir well.
- Mix in the chocolate chips.
Making the Crust
- Ok, here’s where things start to get a little adventurous. If a TVP crust scares you, feel free to skip these next steps and use a cookie crust instead. I personally really like the TVP crust; I think it adds a nice subtle chocolate flavor to the recipe, and holds together well, but I understand it may not be everyone’s cup of tea 🙂
- In a medium bowl, mix all of the ingredients list in the crust section together – this includes TVP, ground flax goo, brown sugar, cocoa powder, salt, and flour. I literally just use a fork and make sure everything is very well mixed. Don’t forget that we are using dry TVP. Please do not re-hydrate the TVP for this recipe or you will be grounded for 2 weeks without your electronic devices. Thank you!
Assembly
- In your pie pan, dump your crust dough and evenly smooth it out on the bottom and of the sides of the pan. I used a deep dish pie pan, specifically a 10 inch ceramic deep dish pan. There’s a lot of cheesecake filling so you definitely want a deep pie pan for this recipe. I like to use the back of a spoon to firmly press the crust together on the bottom of the sides of the pan. It’s important to make sure this is well packed so that when you serve it, the crust doesn’t crumble it should come out clean and hole in one piece.
- Once the crust is formed, pour your cheesecake filling on top of the crust, and smooth it out evenly
- Bake your cheesecake in the oven for 40 to 50 minutes. It should be pretty firm when it’s done with a slight jiggle left in the middle of the cheesecake. There’s not a great way to test this with the old toothpick method because it probably won’t come out clean, and that’s OK. Once it sets up, it becomes more firm. The way I like to check if it’s done is by slightly jiggling it. The sides should not be moving at this point, but there should be a slight jiggle left in the middle of the cheesecake and that’s when you know it’s ready. If you cook it for too long, it will become less creamy and moist.
- Once it’s done cooking, let it cool at room temperature for about two hours. Once it’s at room temperature and move it to the fridge for another two hours until it’s completely cooled. Typically you will get a crack in the cheesecake during the cooling process, I haven’t found a way to avoid this, but it’s totally normal. I think it’s just science. Don’t cut it before it is fully cooled; I have learned this lesson at least a dozen times now because I’m a slow learner 🙂 It will be super gooey if you cut it before it cools down all the way!
Silly Little Haiku
A little jiggle
Letting food cool down is hard
Is it a cheesecake?
Author

Protein Deficient Vegan