Nutrition
Ingredients
- 270 g Bread Flour
- 90 g Vital Wheat Gluten
- 1 1/2 tsp Salt
- 1/4 oz Instant Yeast 1 packet
- 1 3/4 – 2 cup Water
Instructions
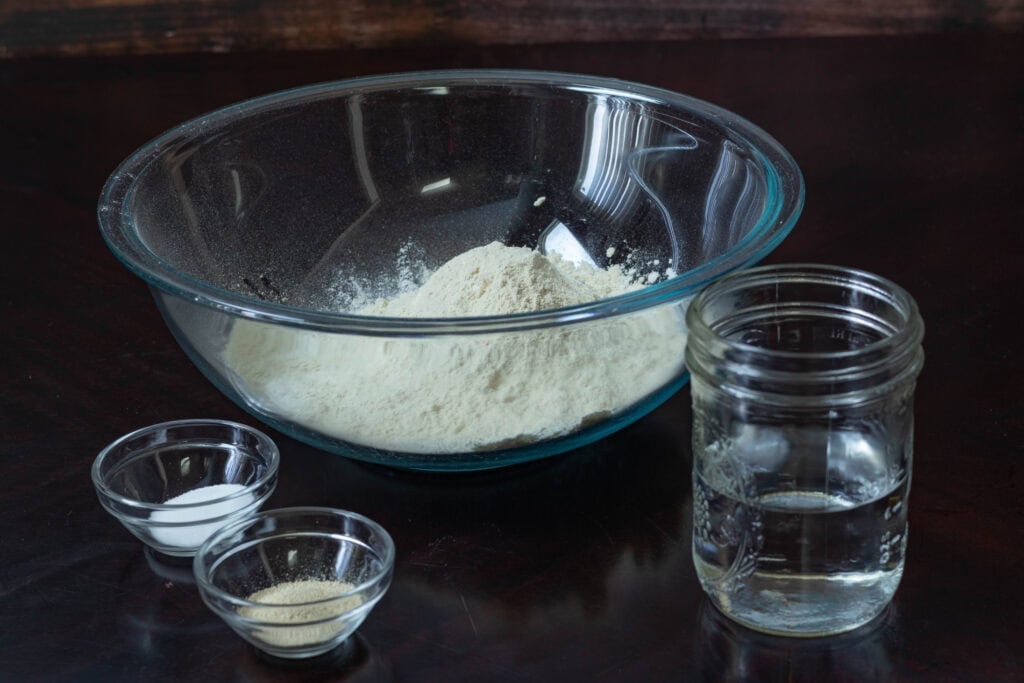
- In a large bowl, mix together the bread flour, vital wheat gluten, salt, and instant yeast. It's important to weigh these ingredients, especially the vital wheat gluten as it settles much more densely than the nutritional label indicates.
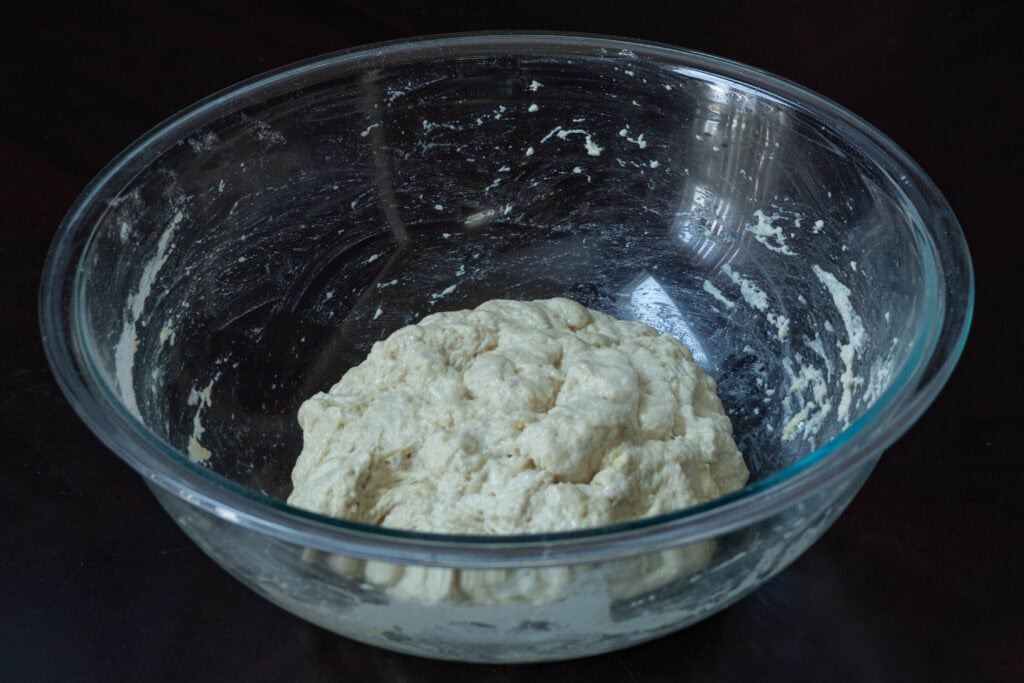
- After mixed, add very warm water (you can go as hot as your sink will make). Start with 1 3/4 cups, and see if the texture looks correct (check out the pictures later on in the post). If it's not right, add a little more water.
- Cover with saran/cling wrap and a towel or two. This will help keep in the moisture and warmth.
- Allow the dough to rise for 4 hours minimum.
- Pre-heat the oven to 450 F.
- Put the empty Dutch Oven, with the lid on, in the pre-heated oven for 30 minutes.
- Dust a piece of parchment paper with flour. Plop your dough on the parchment paper and tuck and fold it until it forms a neat little ball.
- Remove the Dutch Oven from the oven. Open the lid and set the dough (in parchment paper) in the Dutch Oven.
- Place the lid on top.
- Bake for 30 minutes with the lid on.
- Remove the lid and cook for an additional 10 – 15 minutes until the crust is nice and crispy/crusty and browned.
- Pull from the oven and allow to cool. Never forget that Dutch Oven and its lid are blazing hot!
- If you don't have a Dutch Oven, the recipe will still work with the following alterations:-Use a parchment paper-lined 9×5" loaf pan, uncovered.-Use an oven temperature of 400 F (204 C).-Place a pan of water in the oven next to to the loaf pan to keep the humidity up and allow the crust to form properly.-Bake for 65 minutes.
Equipment
This section may contain affiliate links


Notes
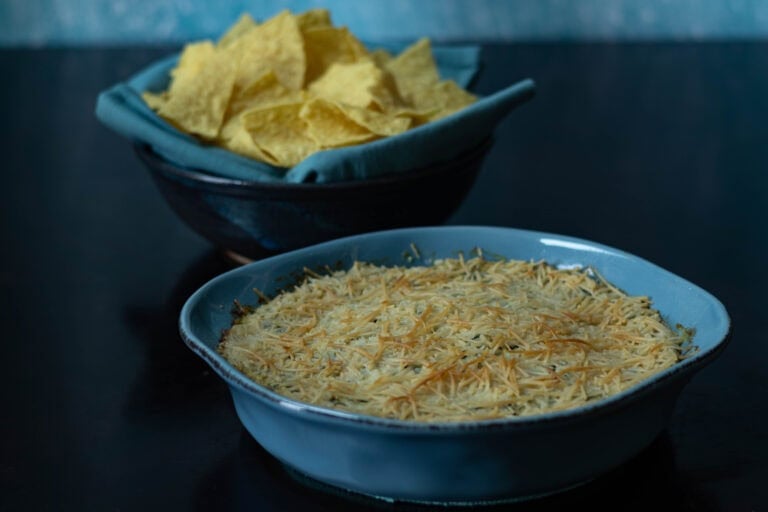
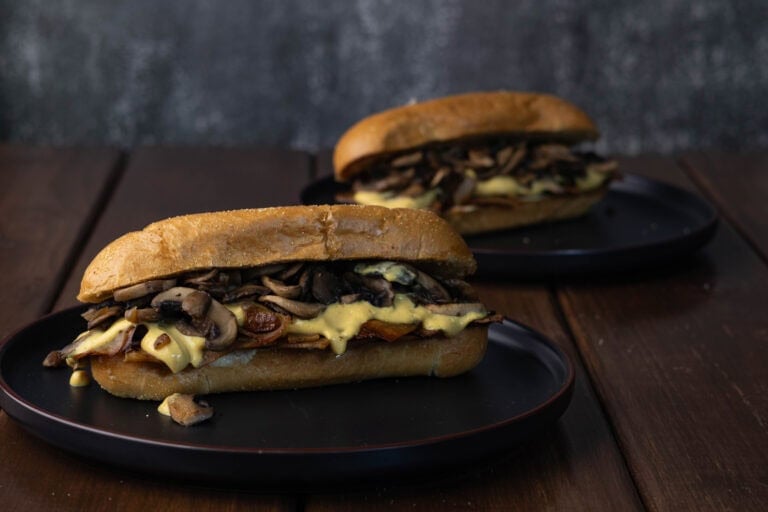
This High Protein No-Knead Bread is my current hyper-fixation! I’ve made it like five times in the last few weeks. Now, I don’t claim to be a bread making girly; this is a very beginner-friendly recipe (I would know, because I’m still a beginner). It takes a bit of waiting time, but actually doing time for this bread is under five minutes. It’s the perfect way to make a high protein grilled cheese sandwich, or just to have as a side for a creamy vegan Alfredo or some cozy chili!
I hope you’ll try this one out, even if you’re intimidated by bread making – I swear this one is easy and you won’t mess it up!
I used a Dutch Oven for this recipe. I lucked into using reward points from work to get a cute little pumpkin dutch oven that I wouldn’t normally buy for myself because it’s so pricey. But, honestly, any dutch oven will work great and you can get some pretty cheap ones that don’t have a fancy brand name attached to them!
You can also make this recipe with a loaf pan, but there are a few alterations you’ll need to make when you go to cook it – check out this section for the adjustments that I make when using a loaf pan!
Ingredients
- Bread Flour – I prefer to use bread flour for this recipe as opposed to all-purpose flour. Mostly because it’s a little higher in protein content, but also because it leads to chewier and lighter bread. If you only have all-purpose flour, I think that would still work fine. Be sure to weigh this ingredient. Sometimes, the weight per volume measurement listed in the nutritional facts is not accurate to life, as flour does tend to settle and become more dense.
- Vital Wheat Gluten – if you want high protein bread, you’re going to need this ingredient. I played around with the bread flour to vital wheat gluten ratio and this seems to be perfect! You get a decent macro profile while still keeping a bread-y texture. Adding more vital wheat gluten than its called for will give it more of a Seitan-like texture, mess up how much water you need, and change how many calories are in each serving, which is why it’s crucial that you weigh this ingredient. Vital wheat gluten, specifically, is waaaay more dense than the nutritional label will lead you to believe. It says 1/4 cup is 30 grams. I’ve found that 1/4 cup is actually closer to 45 – 60 grams, which is why measuring this is so important. Anyways, pretty please weigh your ingredients 🙂
- Salt – this is such an important ingredient for bread making. Salt strengthens the gluten-structure which allows us to get those fun little air pockets in the bread which makes it feel lighter because it’s allowed to rise properly. It also controls the yeast’s activity, which helps us get the perfect balance of fermentation for the best flavor.
- Instant Yeast – make sure you’re using instant yeast for this. Yeast is probably the most important ingredient for this recipe. Also, make sure your yeast is not expired (I realized I had been using expired yeast packets and the dough was not rising as it should). Yeast consume the sugars in our bread dough, and release carbon dioxide gas which is what causes our little air pockets, leading to a lighter and yummier bread. I worked as a Process Engineer at an Ethanol Plant for several years, and yeast are really freaking cool – thank you yeast!
- Water – we will be using very warm water. Like as hot as your sink can make it. The yeast perform much better with warm water (as opposed to cold water). As with everything, moderation is important; if your water is too hot, it will kill the yeast and we will all be very sad. You don’t want anything more than like 115 – 120F.
- Olive Oil – we will be using a small amount of olive oil to coat the bread dough in before the waiting period (proofing time). This helps the dough retain moisture and keeps it from drying out. It also helps with the taste!
Instructions
- In a large bowl, mix together the bread flour, vital wheat gluten, instant yeast and salt. I like to use a whisk to make sure that all of the ingredients are evenly dispersed throughout the dough.
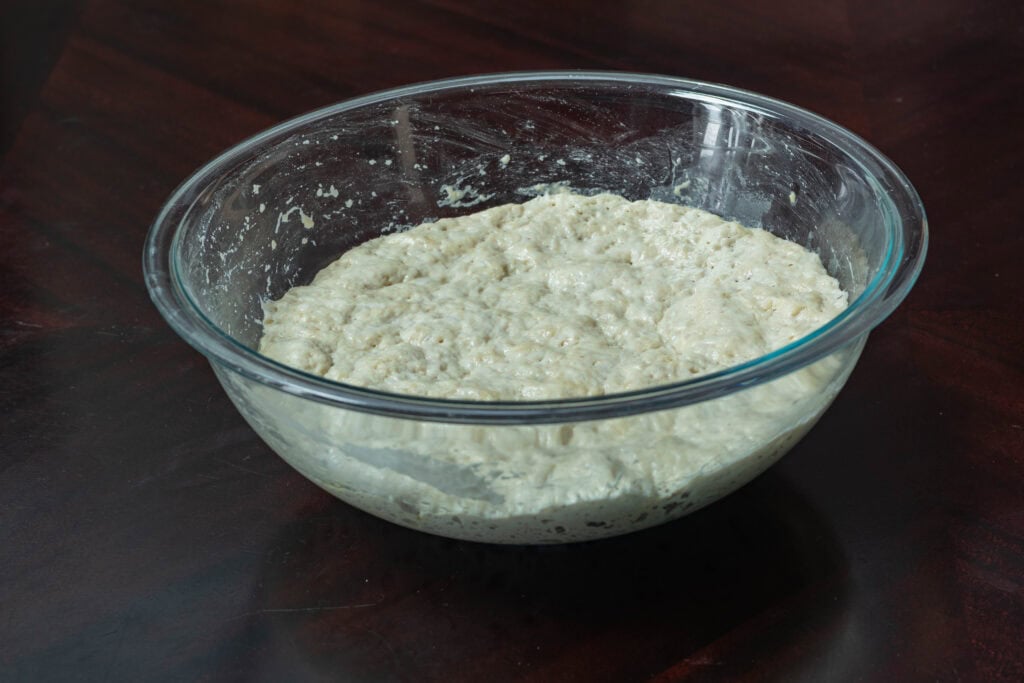
- Add the warm water. I like to start with 1 3/4 cup. Your dough should look like the picture shown below. If it’s still too dry, add a little more water. If your dough looks wet and sloppy, add in small amounts of bread flour until you get to the texture seen below. It’s should be moist and all of the flour should be mixed in, but should be easily able to form a ball.
- Once your dough looks like this, lightly coat it with olive oil.
- Place either cling wrap or saran wrap over the top of the bowl. Should be a good seal.
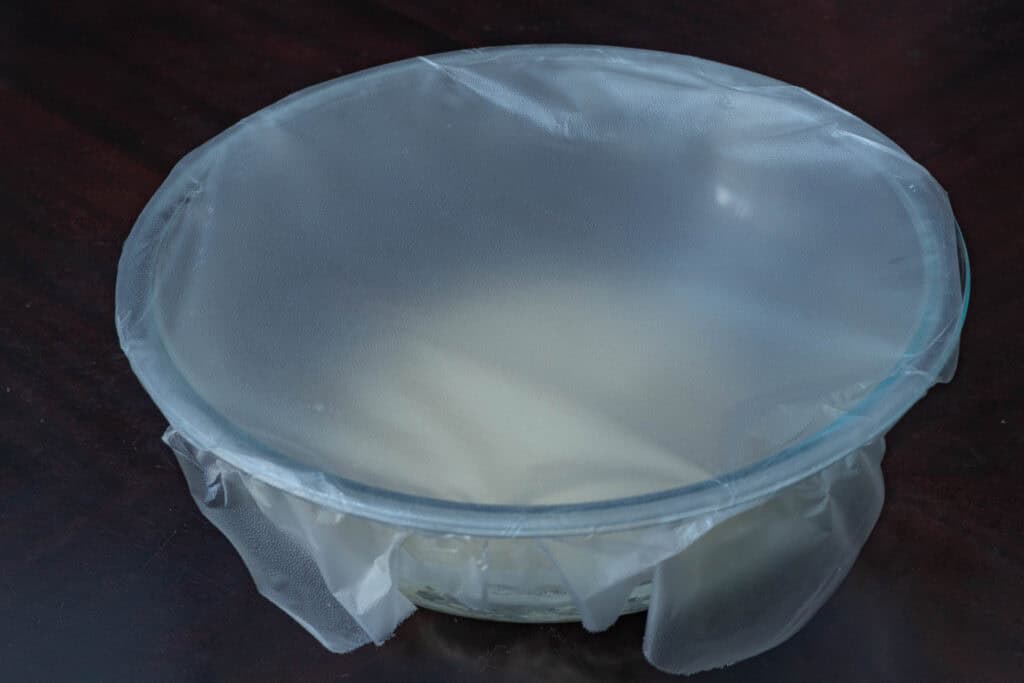
- Next, place a towel or two on top of the wrap. This helps maintain moisture and warmth, allowing the dough to rise better.
- After 4 hours (minimum), your dough should look like this. It’s worth checking on around the 1 hour mark, just to make sure it’s rising like you’d expect. If your dough is not rising, put it somewhere warmer.
- When your dough looks good, pre-heat the oven to 450 F (232 C).
- Once your oven is pre-heated, place an empty Dutch Oven into the oven for 30 minutes.
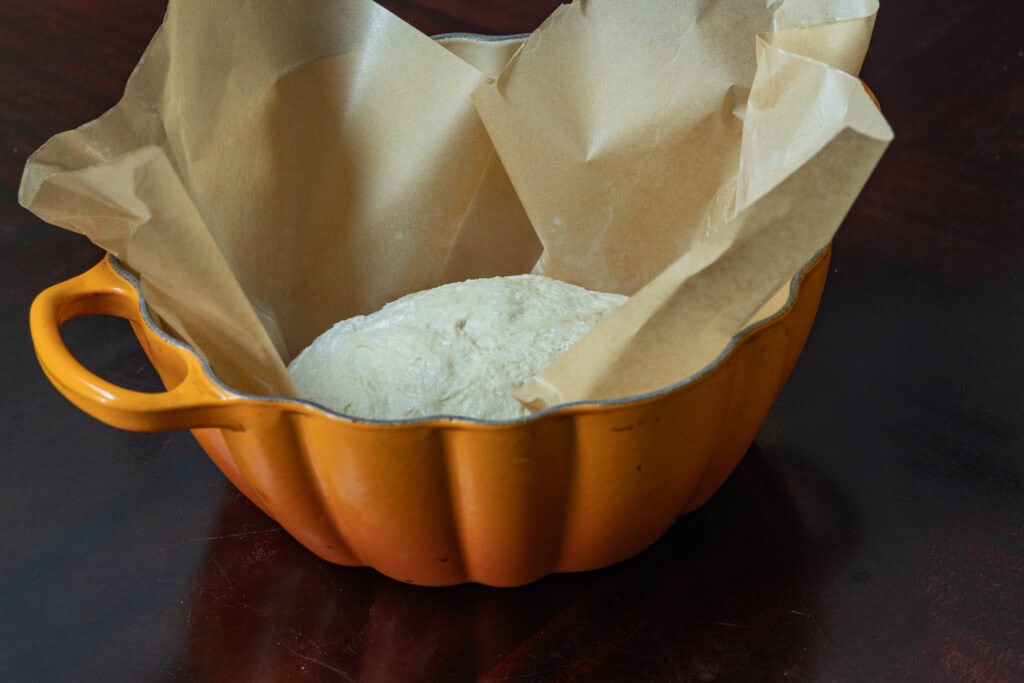
- Get a piece of parchment paper and sprinkle a bit of flour on it (you can also do this on a clean counter top). Dump out the dough and form it into a tight little ball by folding the dough and scooping it in. You ball should look like this.
- Once the Dutch Oven is pre-heated, pull it out of the oven, remove the lid, and carefully place the parchment paper with the bread into it. Place the lid back on top. Please be careful; this stuff is like Mordor-hot. I need better oven mitts because I can only hold the lid for roughly 3.4 seconds before I want to cry.
- Cook with the lid on for 30 minutes.
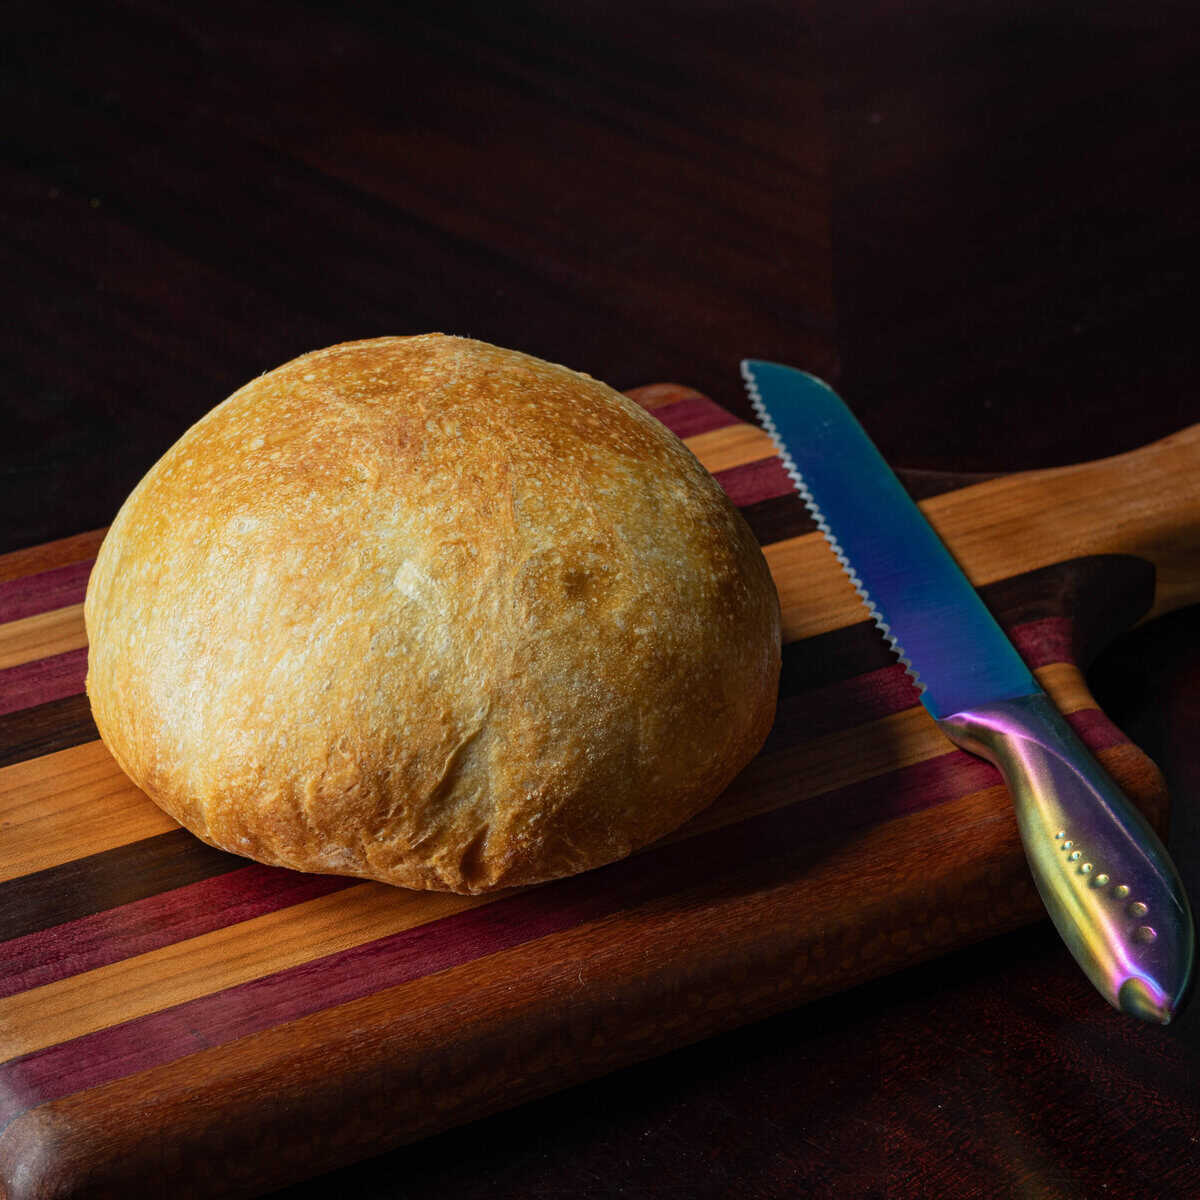
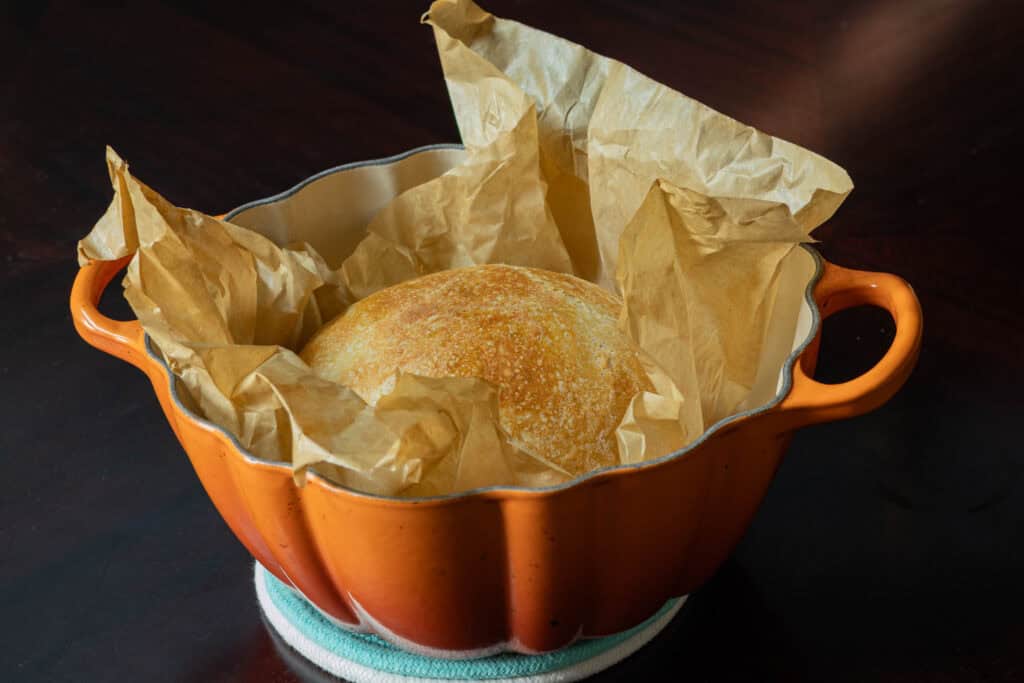
- Remove lid and cook for another 10 – 15 minutes, until the crust is crusty and golden brown. It should look like this.
- Allow to cool and remember the Dutch Oven and its lid are plotting to burn you so always remember where they are and not to touch them 🙂
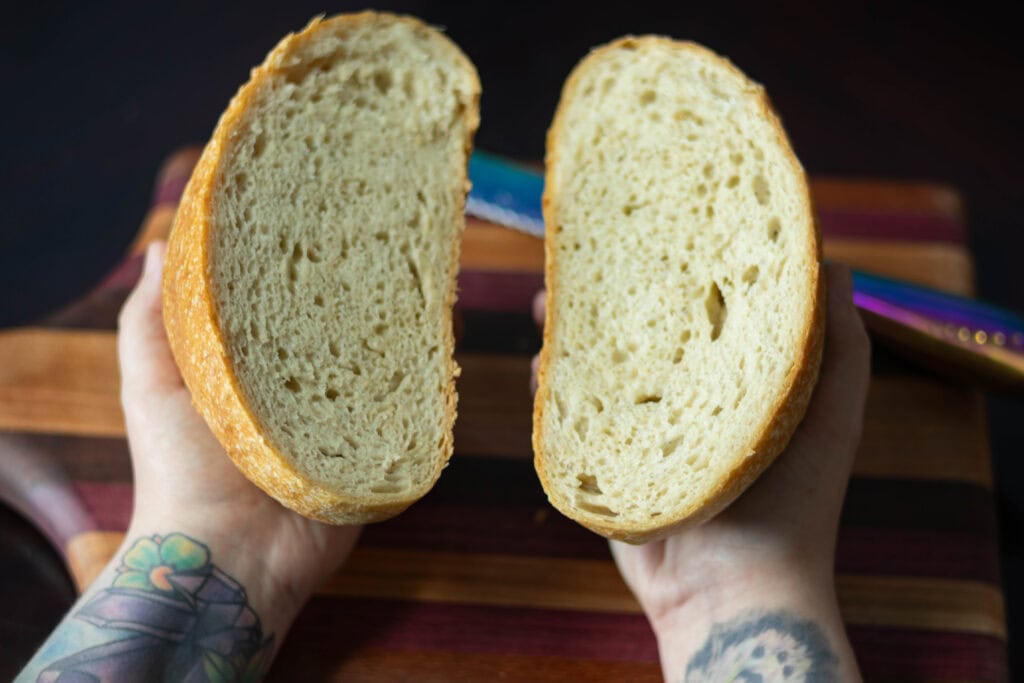
- Here’s the crumb shot for reference so you can see what the texture is like!
Don’t have a Dutch Oven? No problem!
If you are making this without a Dutch Oven, I recommend the following recipe alterations:
- Use a parchment paper-lined 9×5″ loaf pan, uncovered.
- Use an oven temperature of 400 F (204 C).
- Place a pan of water in the oven next to to the loaf pan to keep the humidity up and allow the crust to form properly.
- Bake for 65 minutes or until golden brown.
Silly Little Haiku
Bread can be easy
If you just follow the steps
Yeast are super cool
Author

Protein Deficient Vegan


Cassie! Love this pillowy, simple bread! Protein-rich, and really very little active time required!
OMG, hi Wendy!! I’m so excited that you made this! And even more excited that you liked it! 🙂
I love that little pumpkin Dutch oven! Do you think this would work in 2 loaf pans so that I could slice it like sandwich bread? I know I’d have to cover it with foil for the first bit of baking. I may just give that a try as high protein bread is so hard to find or super expensive! Can’t wait to try!
Hi! Thank you; it’s one of my favorite kitchen things of all time! I haven’t tried making this in a loaf pan before, but I feel like it could definitely be done. Definitely agree with the idea of splitting it into two loafs and covering with foil to make a lid.
You might also think about cooking it at a slightly lower temperature and adjust the baking time since the Dutch Oven and loaf pan retain heat differently. Reducing the temperature and increasing the cook time should allow it to fully cook without burning. Maybe try out 400 F instead of 450 F?
I think this is a really great idea and would love to hear how it goes! I will probably try it myself the next time I need bread for sandwiches! 🙂
Ok, I actually just tried this today! It will actually fit in one loaf pan (I used a 9 x 5″). Then I cooked it at 400 F for about 65 minutes and it came out perfect. I didn’t put aluminum foil on top (I left it uncovered), but I did put a pan of water in the oven to keep the humidity up so that the crust would form properly!
Just made it in a loaf pan. I rose it for seven hours. Didn’t quite make a standard sandwich-sized slice but still terrific! Definitely making this again soon.
Yay!! I’m glad you liked it! I recently made it in a loaf pan too and really liked the uniform slices compared to what you get from the Dutch Oven; definitely better for sandwich making 🙂
I made this yesterday and it is very good! I will definitely make this again! I made the bread with spelt flour and it is great!
I’m definitely going to have to try this! I’ve never baked with spelt flour before!