Nutrition
Ingredients
- 150 g All Purpose Flour 1 1/4 cup
- 120 g 00 Flour 1 cup
- 90 g Vital Wheat Gluten 3/4 cup
- 2 tsp Salt
- 1 1/2 cup Water warm, @115 F (46 C)
- 1 1/2 tbsp Sugar
- 1/4 oz Instant Yeast
- 1/2 tbsp Olive Oil (for coating the dough)
Instructions
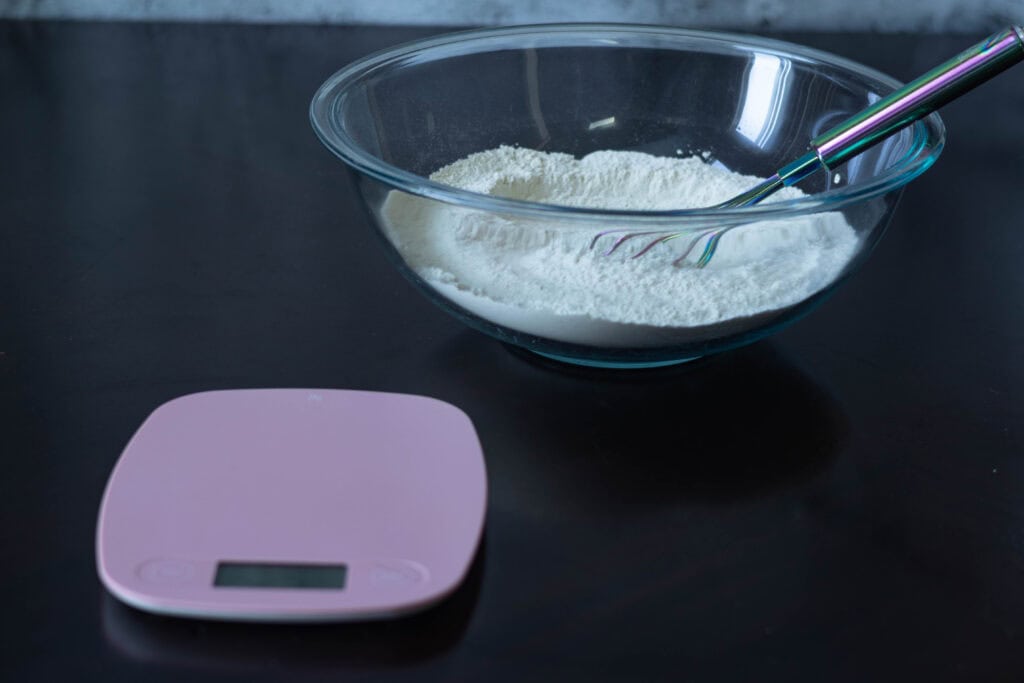
- In a large bowl, whisk together the All-Purpose Flour, 00 Flour, Vital Wheat Gluten and salt. Please weigh your flours and vital wheat gluten for accuracy.
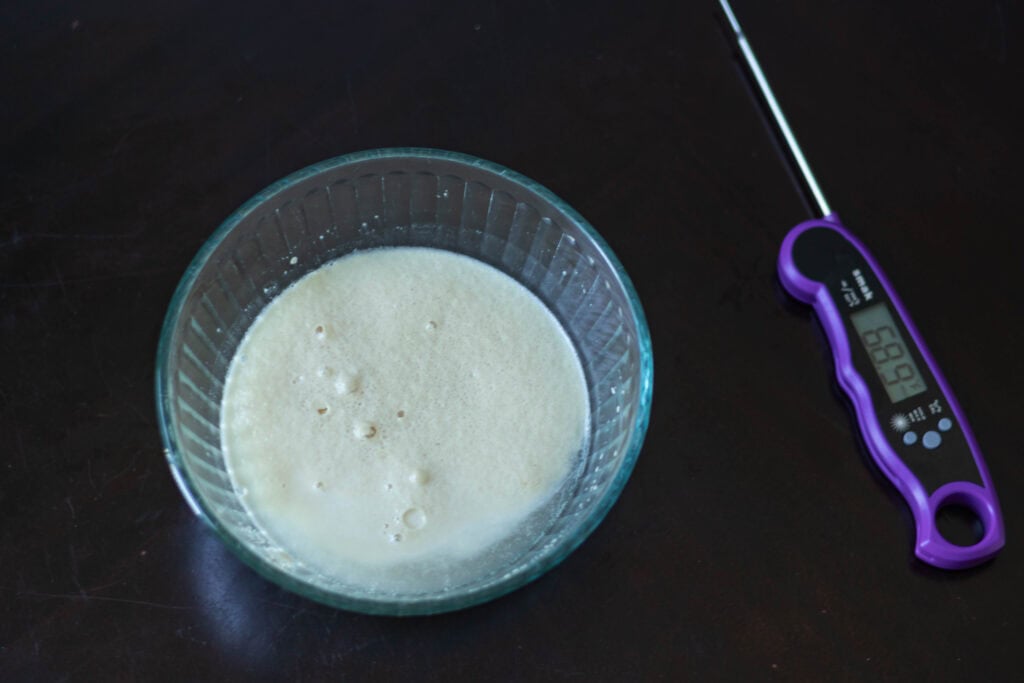
- In a smaller bowl, add the sugar and packet of instant yeast. Add very warm water (115 F, 46 C) to the bowl. Stir a couple times.
- Cover the small bowl with a kitchen towel and let it sit for 3 minutes.
- After 3 minutes is up, you should see yeast blooming on top of the water (see picture in the detailed recipe section).
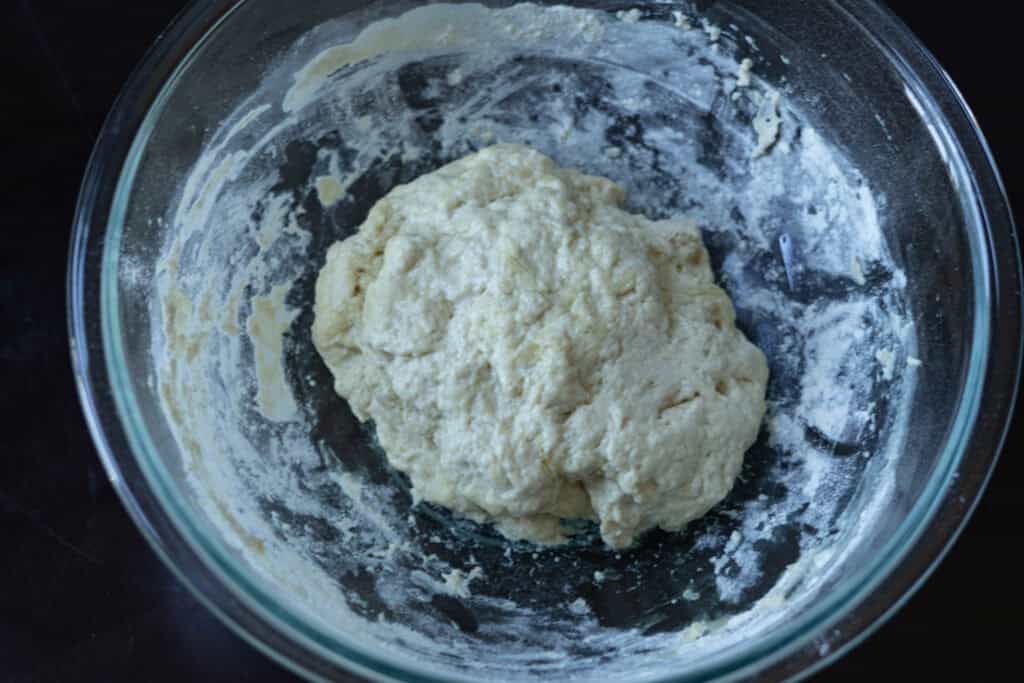
- Add the water and yeast mixture to your combined flours, and mix until you have a dough. Do not over-mix or knead.
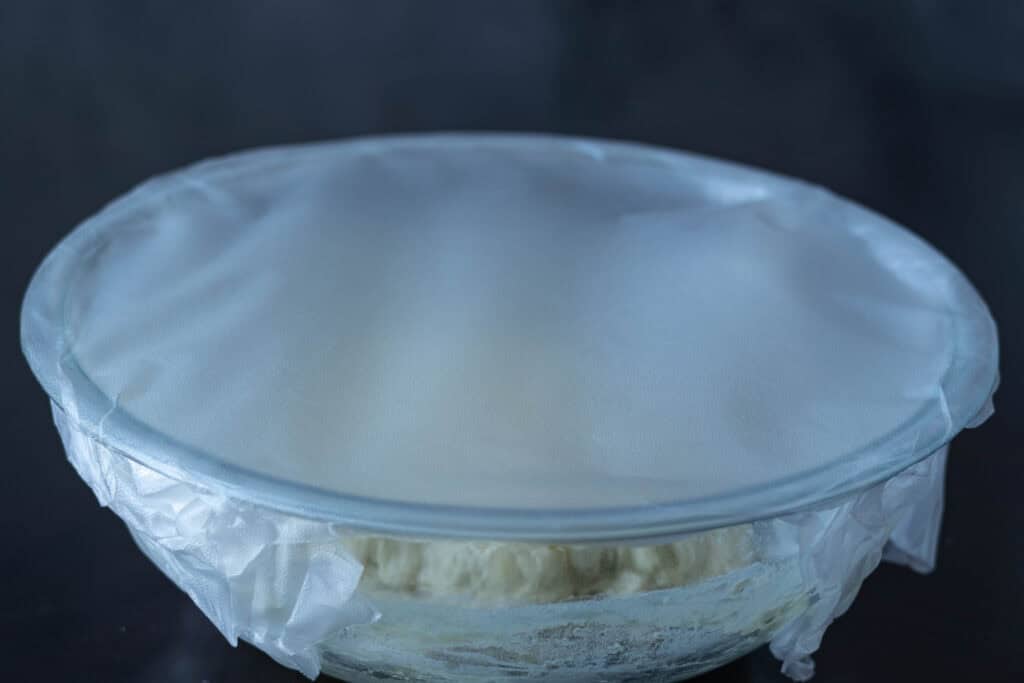
- Spray the bowl and dough with a small amount of olive oil.
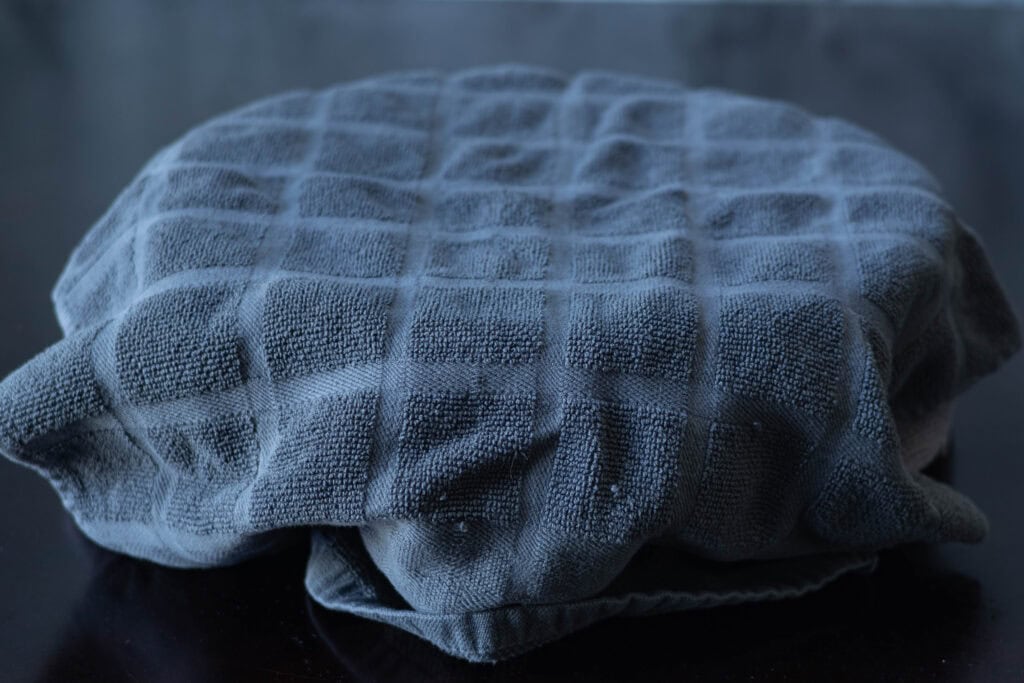
- Cover the bowl. I like to use cling or press 'n seal wrap, with a towel or two on top.
- Allow to sit for 2 hours. I like to check in on it at the 1 hour mark just to make sure it's getting larger in size. If it looks the same, you should move it to a warmer space.
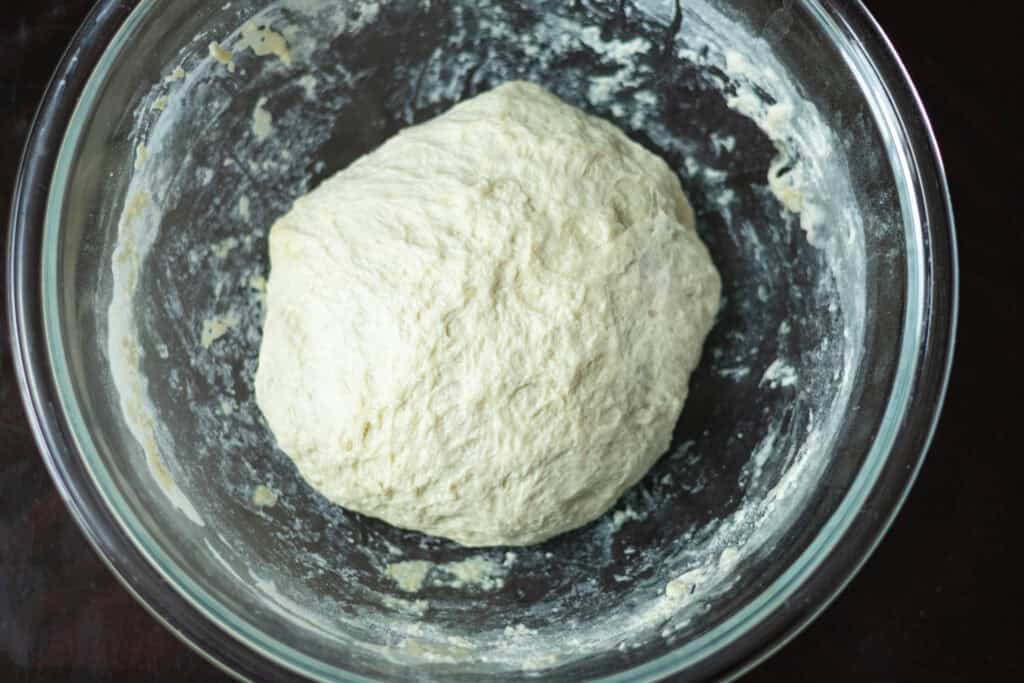
- After 2 hours, stretch and fold the dough 4-6 times. You will literally just stretch the dough off the bowl and fold it in half. And do that 4 – 6 times until you end up with a ball-like shape.
- Re-cover the bowl for another 3 hours.
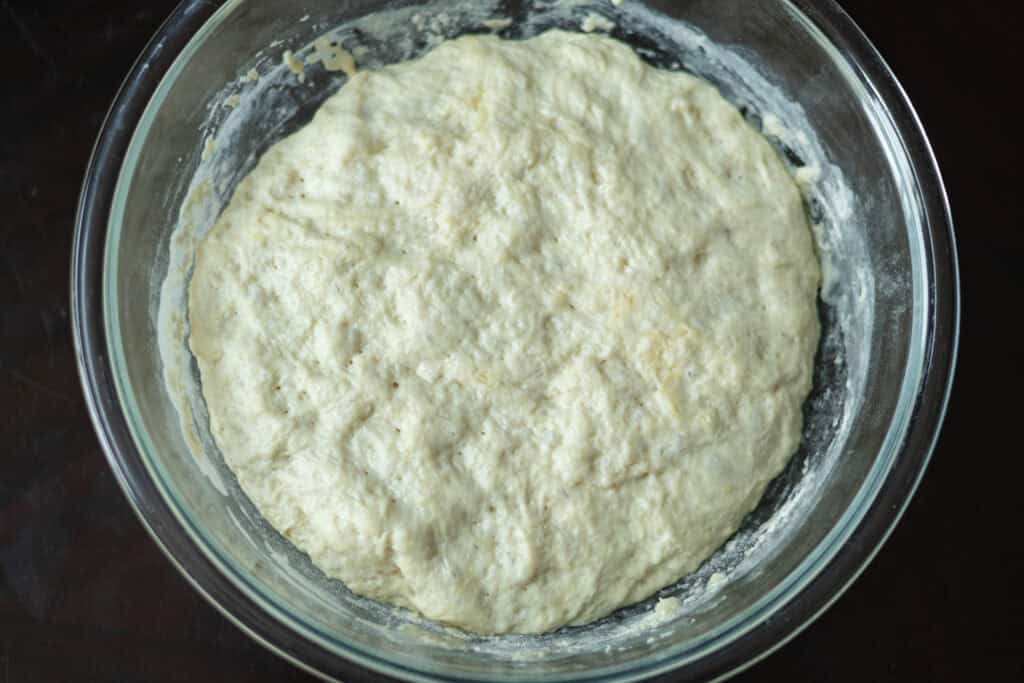
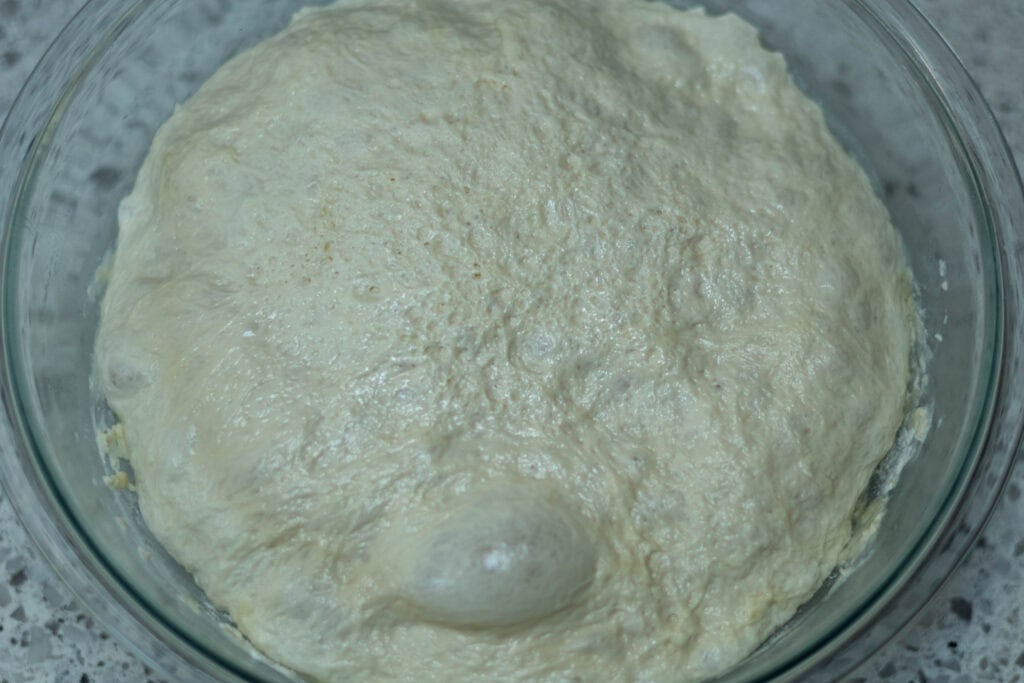
- Your dough should be fully proofed at this point and be larger and fluffier than when you started (see pictures below).
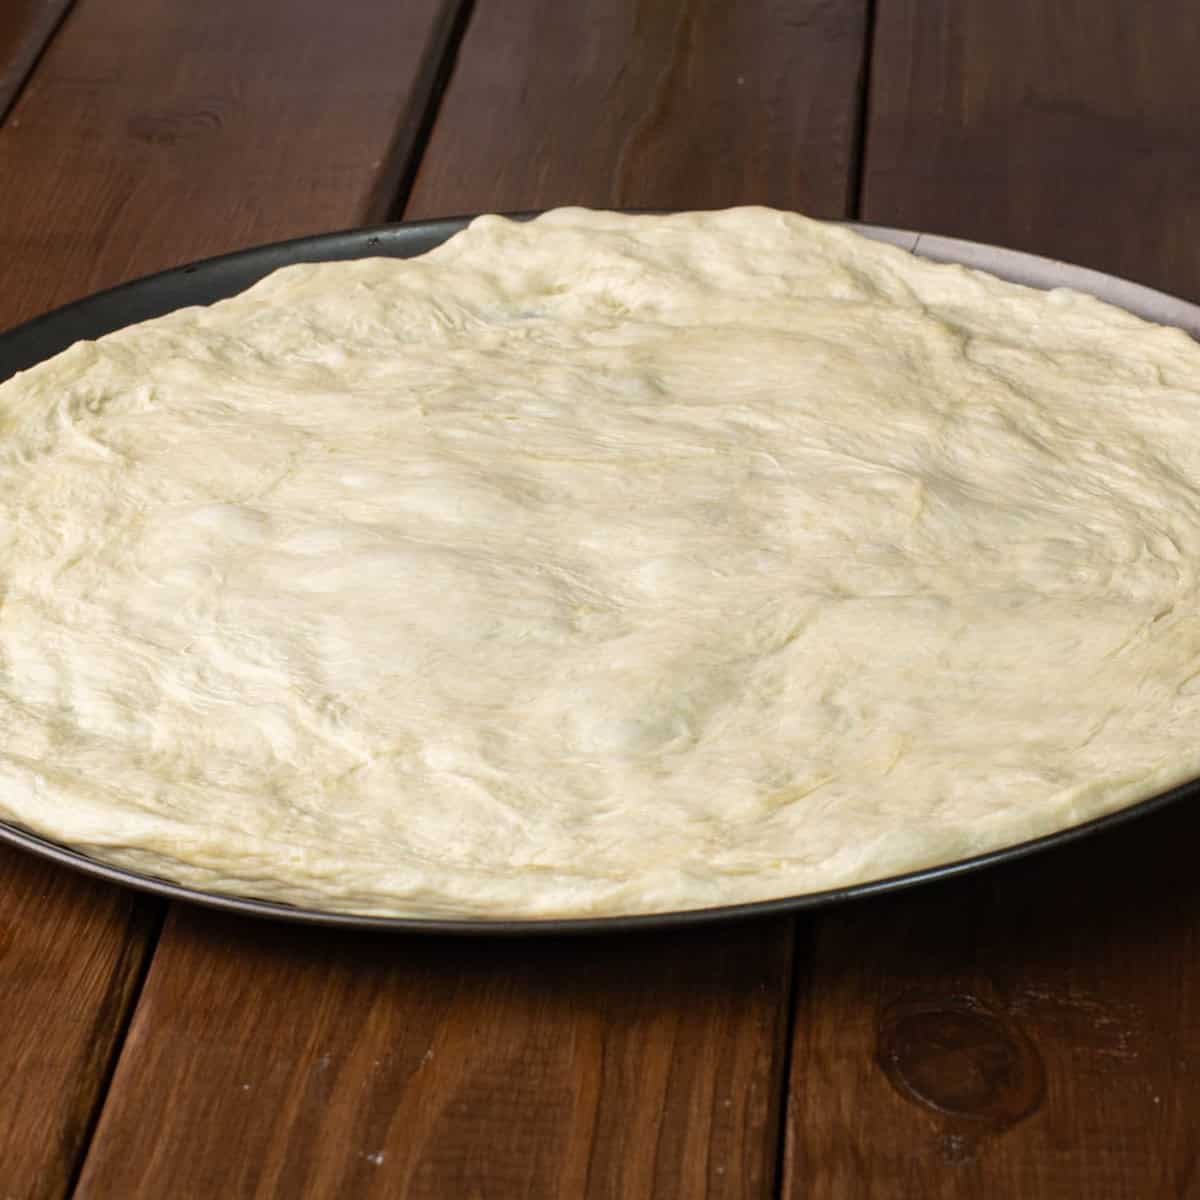
- I like to use a larger (16" diameter) metal pizza pan for this, but a Dutch Oven, pizza stone, etc. will also work.
- This dough is on the sticky side so make sure your pan (or whatever you're using is well oiled) and I like to pre-heat my pan beforehand to ensure the dough comes off easily.
- This dough cooks at 500 F (260 C) for 12 – 15 minutes. I usually pull it out around the 13 minute mark.
Equipment
This section may contain affiliate links


Notes
Video
Pizza has always been my most favorite food in the world. Since I also have protein goals, I wanted to create the perfect high protein pizza crust that people would say was a great pizza crust even if they didn’t know it was high protein! I have definitely accomplished that with this one! Because vital wheat gluten is so protein dense, you only need to replace a portion of your normal flours with it, and the pizza dough will still be high protein – it’s literally just math (which if I’m being honest, is the starting point for most of my high protein recipes)! This high protein pizza dough has that classic chewy, crunchy texture and the flavor is on point!
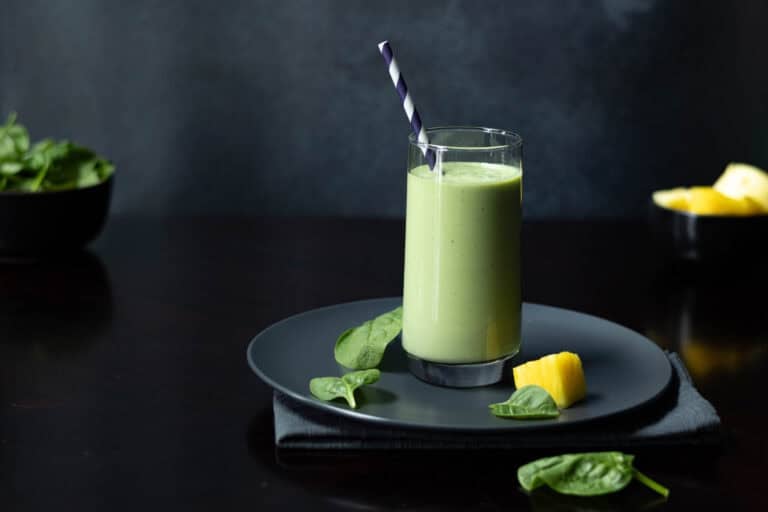
If you’re looking for a protein-packed mozzarella option to top this with, be sure to check out my Stretchy Soy Mozzarella recipe! It’s made with silken tofu, so it’s also great for those with nut allergies since a lot of vegan cheeses have a cashew base.
Ingredients
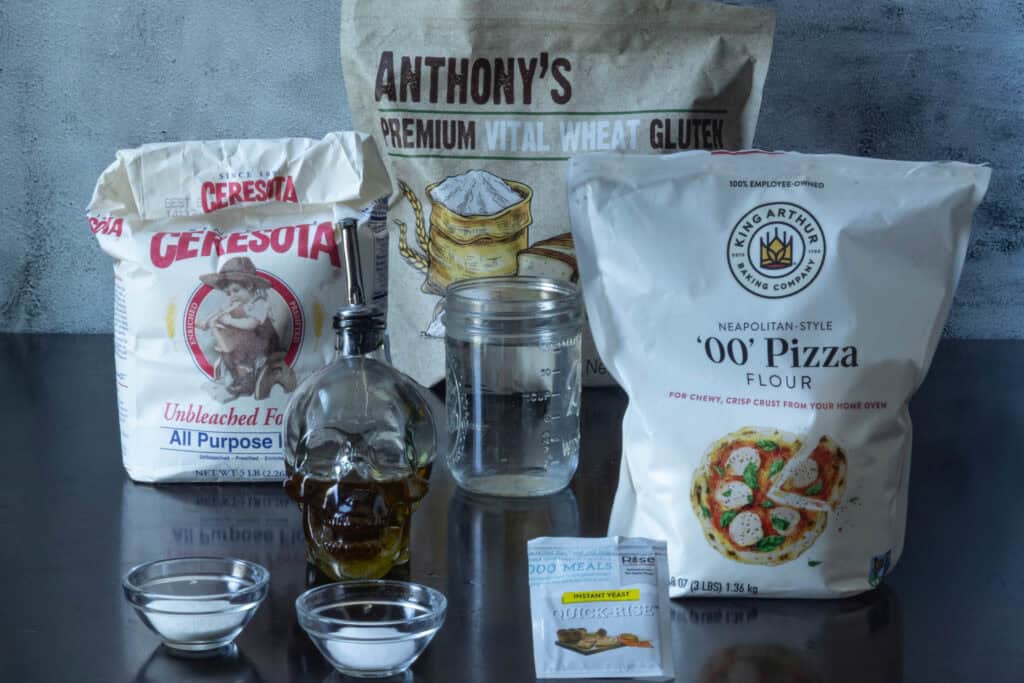
- All-Purpose Flour, 00 Flour – I tried a few iterations of this recipe and this was the ratio of each I ended up thinking worked best. 00 Flour is used for pizza dough specifically because it has a very fine grind which creates a softer, easier to stretch dough, which usually has a more airy crust with crispy edges. For the best results, I recommend using both of these flours.
- Vital Wheat Gluten – this is the main protein source for this recipe. Vital wheat gluten is actually 80% protein on a calorie basis, so we really don’t have to add a ton to increase the overall protein percentage of the recipe. If you haven’t worked with vital wheat gluten before, it’s typically used in making seitan, a meat substitute, but I loooovvvee baking with it to make desserts and bread-type things. Trust me, after you try this high protein pizza dough, you’ll be a believer! 🙂
- Salt – helps with flavor and the dough structure. Salt makes the dough a little more elastic (which is really important with this high gluten content dough), and less prone to tearing. It also helps regulate yeast production and control fermentation.
- Sugar – helps brown the crust better, and is also yeast food, which allows the dough to rise faster!
- Instant Yeast – our most important ingredient! Yeast are actually so freaking cool. I worked at an Ethanol Plant for a few years and they are seriously interesting. They eat sugar, they poop alcohol and they exhale CO2 (carbon dioxide), so they are useful for so many processes, like pizza dough making because they help it rise!
- Warm Water – for good yeast activity, it is important to use warm water (115 F, 46 C), but not too hot or you’ll kill the yeast. You should be able to use the hottest water that comes from your sink unless you have your water heater cranked up super high. I usually check mine with a thermometer just to verify.
- Olive Oil – we’re only using this to coat the bowl and the dough; it doesn’t go in the dough recipe.
Instructions
- In a large bowl, mix together the All Purpose Flour, 00 Flour, Vital Wheat Gluten and salt. You want this to be a homogeneous mixture, so that the gluten content is even throughout. I use a whisk for this step.
- It’s very important to weigh out your flours, especially vital wheat gluten as it can be very dense. You might end up adding too much/too little flour/vital wheat gluten if you don’t weigh them, which can result in your dough being too dry or too wet.
- In a small bowl, add sugar and a packet of instant yeast.
- Add 115 F (46 C) water to the bowl, and stir a couple of times. You should be able to use the hottest water that comes out of your sink, but I like to check the temperature with a thermometer because I like happy yeast.
- Cover the small bowl with a towel, and let sit for 3 minutes.
- Your yeast-y water should look something like this. When you get that bubbling activity on top of that water, that means the yeast are good and active.
- Add the yeast water to your flour mixture, and stir together until you have a dough.
- Your dough should look something like this.
- If it looks dryer than this (i.e. you can’t get all of the flour to incorporate), add in a small amount of water until it looks like this.
- If it looks wetter than this (does not form a ball, the dough is sloppy and goopy), add a small amount of flour until it looks like this.
- Cover the bowl and allow to rest for 2 hours in a warm-ish part of your house. I like to cover mine with either cling wrap or press n’ seal first to keep the moisture in and then a couple of kitchen towels on top.
- At the one hour mark, I like to check in on it and make sure it’s getting bigger.
- At the 2 hour mark, your dough should look something like this.
- Pull the dough from one side and stretch it. Fold it onto itself, like your folding it in half. Pick up another corner and do the same thing. You will stretch and fold the dough 4 – 6 times (6 times if you can).
- It should look like this when you’re done with the stretch and folds.
- Re-cover the bowl and allow the dough to rest for another 3 hours. You can actually finish the Lord of the Rings: The Fellowship of the Ring with 3 hours, so that’s my recommendation while you wait.
- Pre-heat the oven to 500 F (260 C).
- At the 3 hour mark, the dough should look something like this.
- At this point, I like to pre-heat the pan I’m going to use. The dough is on the sticky side, so I find that spraying some oil on my pan and also giving it a quick pre-heat, helps keep the crust from sticking to it.
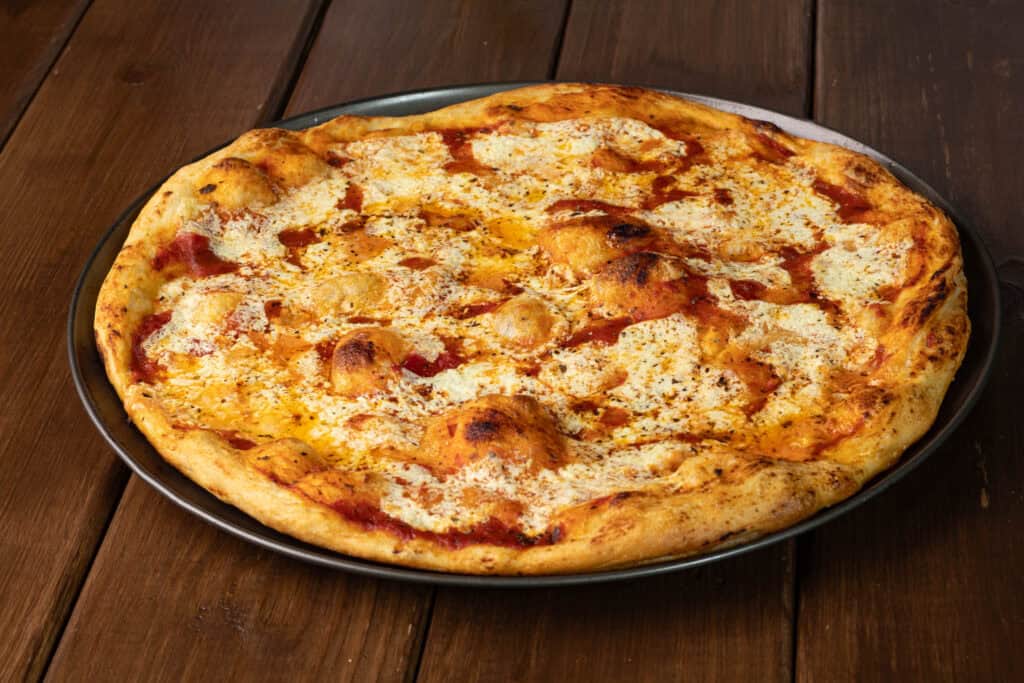
- Once you’ve put the dough on the pan or whatever you’re cooking on, bake for 12 – 15 minutes. I usually target around 13 minutes for my oven.
- Final product should look something like this glorious bastard!
Silly Little Haiku
Dough ray me fa so
Perfect for a pizza ho
This is pizza dough
Author

Protein Deficient Vegan

This looks so good! Is the recipe for 1 pizza or does it make two?
And are the nutritional values per portion, or for the whole thing?
Hi!! This made 1 pizza for me – I used a 16″ diameter pizza pan though, so if you’re using something smaller you could maybe make two with it! The nutritional info is per serving and there are 8 servings for the entire recipe!
this crust is BOMB!!!! I LOVE IT best crust I’ve ever made
Thank you!!! I’m so glad you liked it! 🙂
This was literally the best pizza crust ever! It had the most amazing taste and texture. I tripled the recipe and parbaked the crust so it was easy to grab and go. 100000/10 so delicious and easy!
Yay!! I’m so glad you liked it!! I seriously have to try par-baking this once I have some extra room in my freezer; that’s a genius idea for meal prep! 🙂
Do you think this dough would freeze okay? I like the idea of making a few batches and having them at the ready for when the craving hits.
Yes! I’ve had a couple people tell me that they parbake the crust and freeze a few so that they have them ready to go! You probably want to bake it for about 4 – 7 minutes until it’s set but still pale (not browned yet). This will keep it locked in shape for when you use it in the future, but it won’t be so cooked already that it over-bakes/burns when you go to use it! Then let it cool completely and wrap it tightly in Saran wrap and aluminum foil before you freeze it to prevent sogginess and freezer burn.
Came out so good and fluffy! I was very hungry and did not realize it had to sit for so long, so I baked it after 3 hours. I also used bread flour since I didn’t have 00 flour.
Yay!! I’m glad it turned out well! Good to know that the recipe still works with bread flour too! 🙂