Nutrition
Ingredients
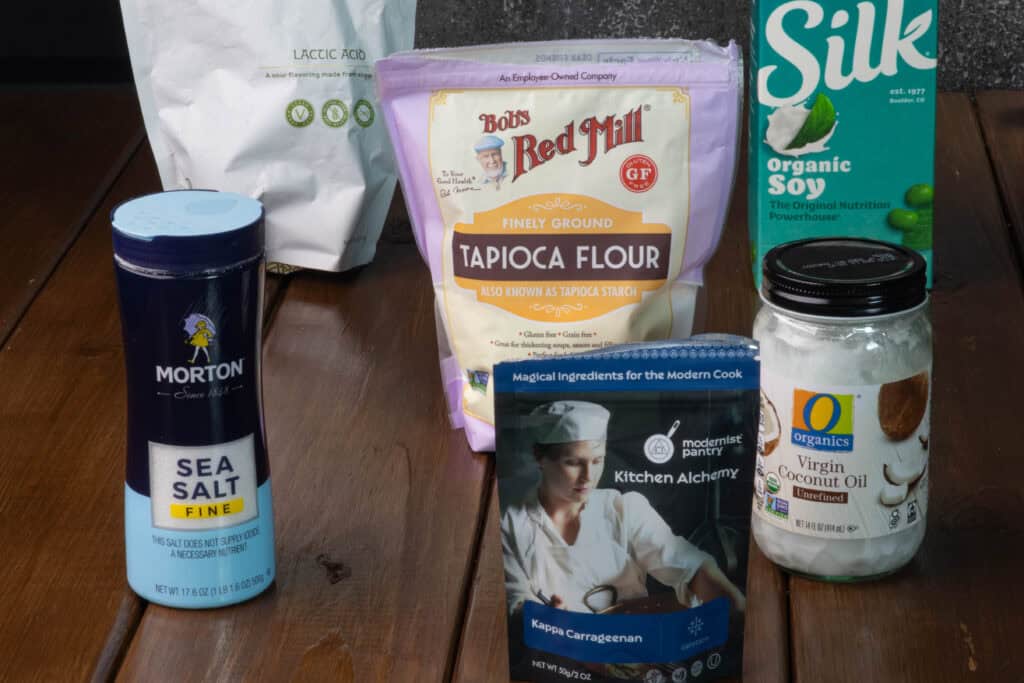
- 3 1/2 tbsp Coconut Oil
- 1 cup Soy Milk unsweetened, Original
- 1 tsp Kappa Carrageenan
- 1 tsp Lactic Acid
- 1 tsp Fine Sea Salt
- 1/4 tsp Tapioca Flour
Instructions
- In a small sauce pan, melt the coconut oil. Use medium-low heat.
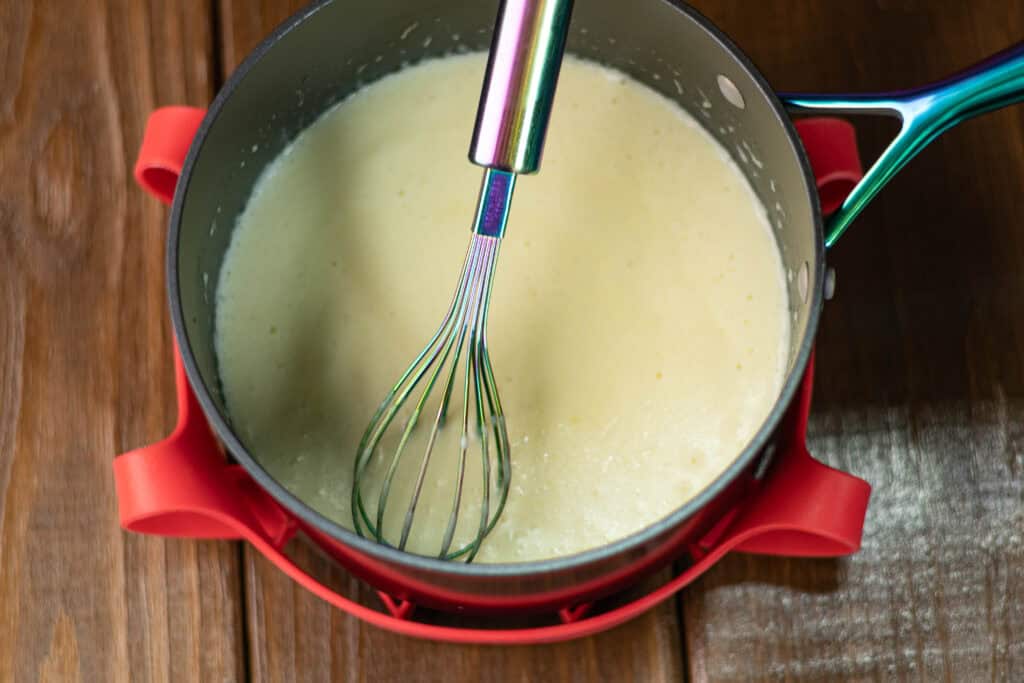
- Once the coconut oil is melted, whisk in the soy milk, tapioca flour, kappa carrageenan, lactic acid and fine sea salt.
- Continue cooking on medium-low heat for 3- 5 minutes, whisking continuously. An emulsion should form – meaning that the oil is mixed in with the other ingredients and is not sitting on top of or around the edges by itself. Continue whisking until this occurs. You should also have some light bubbling of the mixture.
- The way I test that it's done is by sticking a spoon into the mixture, pulling it out and waiting 20 – 30 seconds. The mixture on the spoon should have become a soft solid.
- Once you pass the spoon test, remove the pan from the heat.
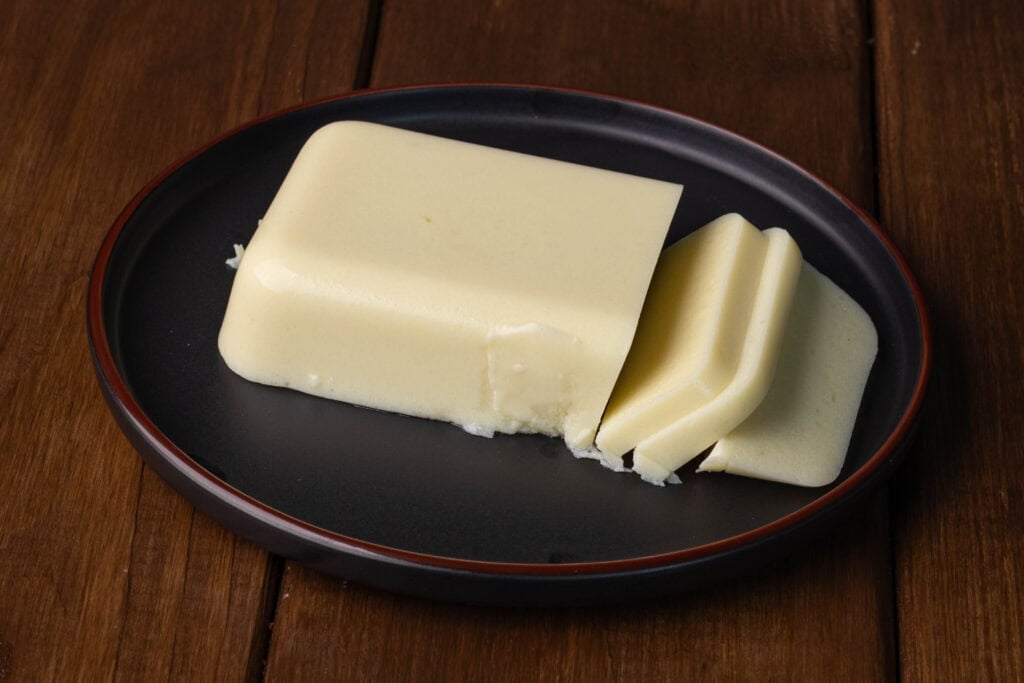
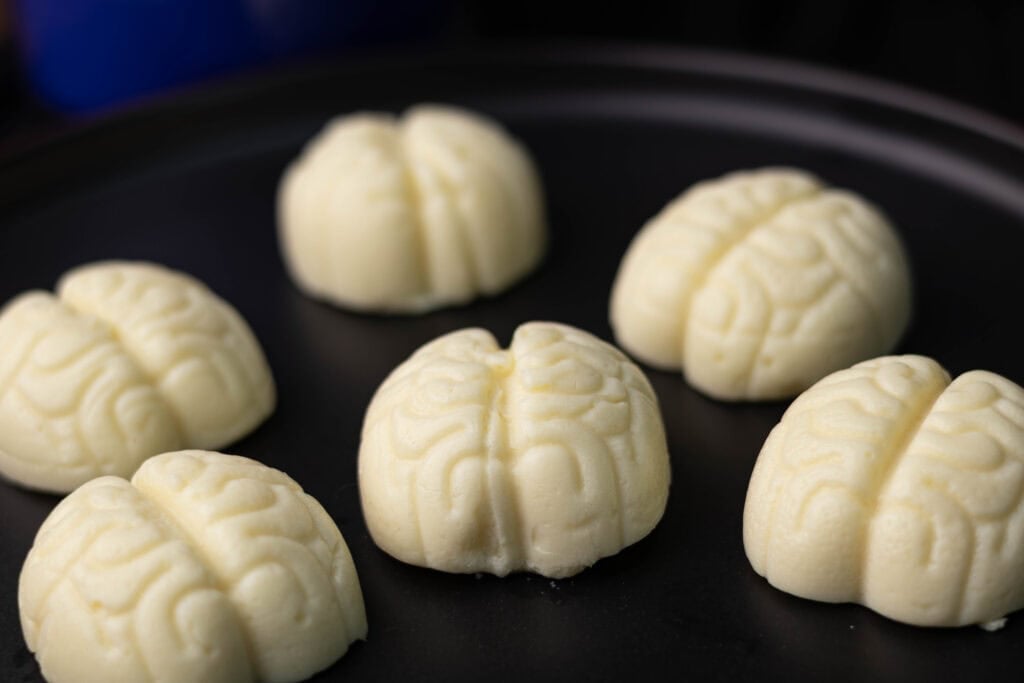
- Pour into a tupperware dish (I like to use glass ones) or fun silicone molds!
- Allow the cheese to get to about room temperature before covering and putting in the fridge.
- Put in fridge for 30 – 60 minutes until set.
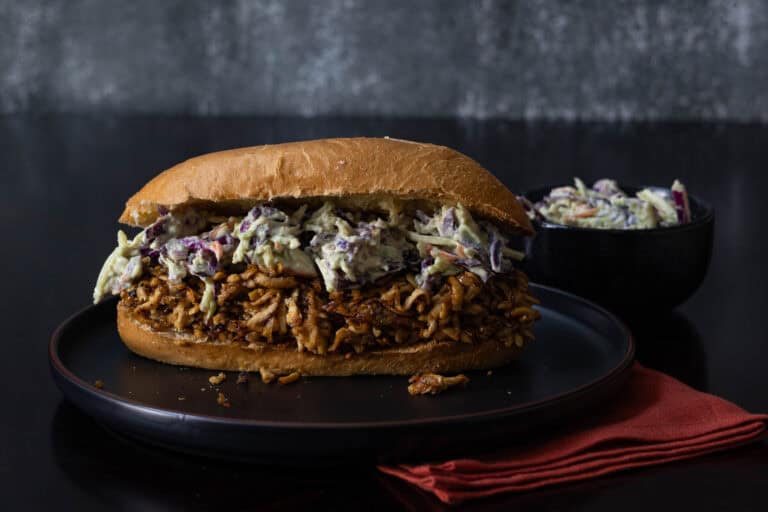
- Use on pizzas, casseroles, or eat cold!
Equipment
This section may contain affiliate links


Notes
Video
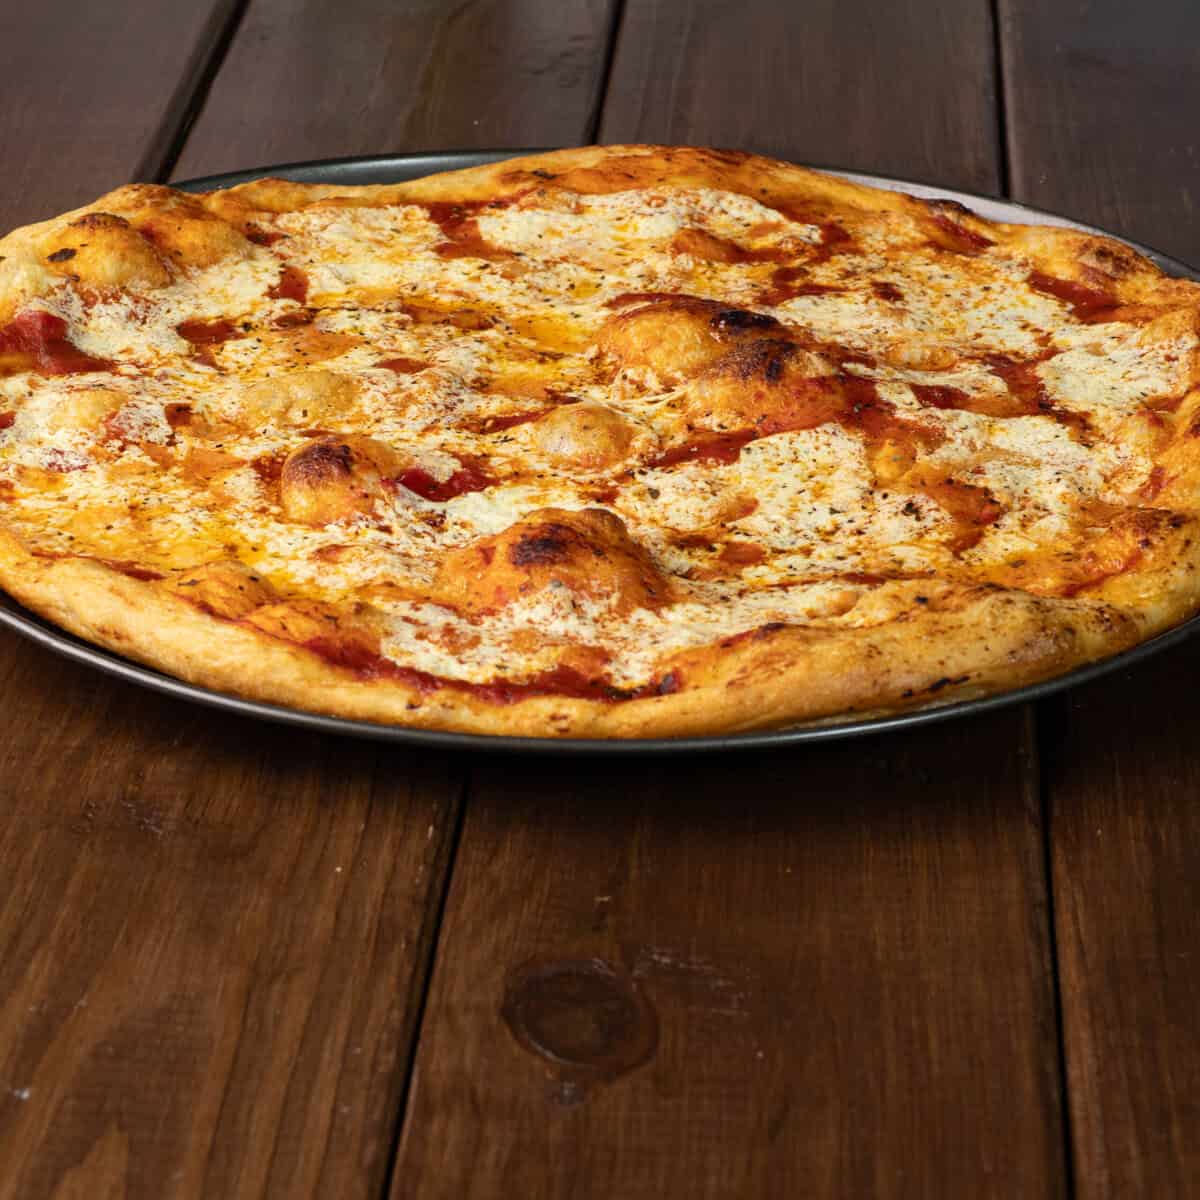
I recently became obsessed with Cheeze and Thank You’s Fresh Mozzarella because it’s incredible, and if you ever see it in stores, you should definitely grab some (in fact, you should try anything they make, because they never miss)! This recipe is my version of it; I wouldn’t really call it a dupe, but it tastes really similar and cooks the same!
Anyways, I love using this on pizzas and casseroles because it gets all melty, like real cheese and then when it starts to cool off after you pull it out of the oven, it starts to solidify some (just like real cheese again) because of the coconut oil! Unlike most vegan mozzarella you get at the store, this one is not sticky at all. It also has a flavor very similar to dairy cheese because of the lactic acid I use in it.
This fresh vegan mozzarella sets up to the texture of real fresh mozzarella because of the kappa carrageenan, which is also used to set tofu. So you can use it in salads, on crackers, or whatever else you might normally use a fresh mozzarella for.
I have a couple of other vegan mozzarella recipes if you want even more options to top your pizzas and casseroles with – check out my Liquid Vegan Mozzarella that’s really similar to the Miyoko’s Liquid Mozzarella and my Stretchy Soy Mozzarella that’s great for if you want a little protein in your vegan cheese!
Ingredients
- Coconut Oil – this is probably the most important ingredient for this fresh vegan mozzarella recipe. Coconut Oil is a super interesting ingredient because it’s solid at room temperature, which is why a lot of commercial vegan cheeses use it as a base for their recipes. Unlike a lot of coconut oil based vegan cheeses, though, this one is not sticky.
- Soy Milk – I used soy milk because it has a really neutral flavor and is creamy. I haven’t tried this with any other plant-based milks, but could see oat milk or cashew milk working well if you can’t eat soy.
- Kappa Carrageenan – this is the ingredient most often used to set tofu. It acts as a gelling agent and thickener. For this recipe, it helps the fresh mozzarella become solid and stable, which allows usto cut or shred it (or honestly, just use it cold). I haven’t seen this ingredient in stores, but you should be able to find it online.
- Fine Sea Salt – adjust to taste.
- Lactic Acid – provides vegan cheeses with that tangy, sharp flavor that you would normally find in dairy cheeses. I know this is kind of a weird ingredient, but if you are planning on making vegan cheeses and cheeses sauces, I highly recommend you spend the money to get this! It takes vegan mozzarella to the next level! I haven’t been able to find this in any stores, but you can find it online.
- Tapioca Flour – acts as an emulsifier which helps combine combine oil and water layers together, and stabilizes the mixture to keep them from separating back into distinct layers. This one can be found at grocery stores, typically next to the gluten-free flour options.
Instructions
- In a small sauce pan, on medium-low heat, melt the coconut oil.
- Once the coconut oil is fully melted, keep the pan on medium-low heat, and add the other ingredients. Whisk them all together really well. Continuous stirring is important to keep the mixture from burning.
- Cook (and stir for 3-5 minutes). You should have some light bubbling. You should also see the mixture go from two distinct layers – the soy milk mixture and coconut oil – to one well-combined emulsion layer. This means you should no longer see a layer of oil on the top or around the edges.
- Once you have an emulsion, you can do what I call the “old spoon test”. It’s really exciting stuff! Take a spoon and dip it into the mozzarella mixture, pull it out, and wait 20 – 30 seconds. The mixture should be a soft solid on the spoon. At this point, I eat the spoon cheese, because it tastes good.
- Pour the mixture into a tupperware dish or some fun silicone molds (I bought brain shaped ones because I’m a really wild girl).
- Allow the cheese to sit on the counter and get to about room temperature before putting it in the fridge.
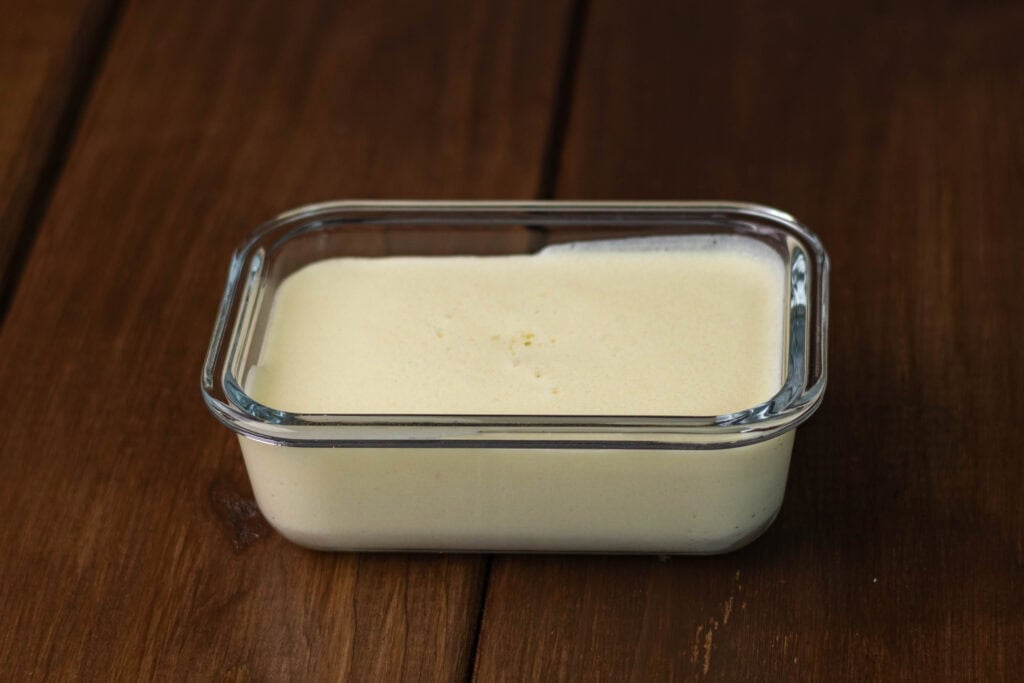
- Throw it in the fridge for 30 – 60 minutes until it has solidified.
- Enjoy cold or use on pizzas, casseroles or whatever you can think up!
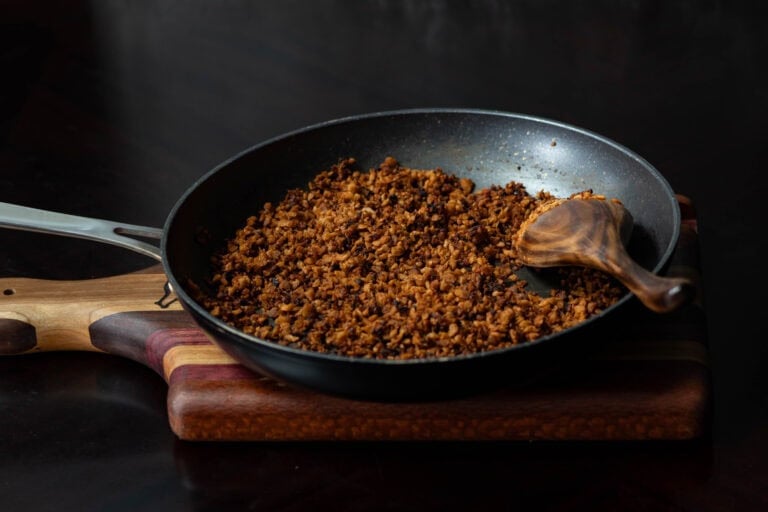
- For reference, this is what it should look like once it’s solidified.
Silly Little Haiku
Isn’t she lovely?
My pretty mozzarella
She tastes real good too
Author

Protein Deficient Vegan


instead of Kappa carrageenan, could I use agar agar powder?
While agar agar is usually a good alternative for kappa carrageenan, in vegan cheeses, it’s not the best choice. If you make this recipe with agar agar, the texture will be a little different and it may not melt the same. I personally haven’t tried making it with agar agar before, but I would hate for you to waste ingredients and have it not turn out the same!
Made this the second time now, works so well on pizza! Yesterday, I added a bit of nutritional yeast to give it a bit more of a cheesy flavour and loved it 🙂
Yay, I’m so glad you like it! I’m always on board with adding more nutritional yeast! 🙂